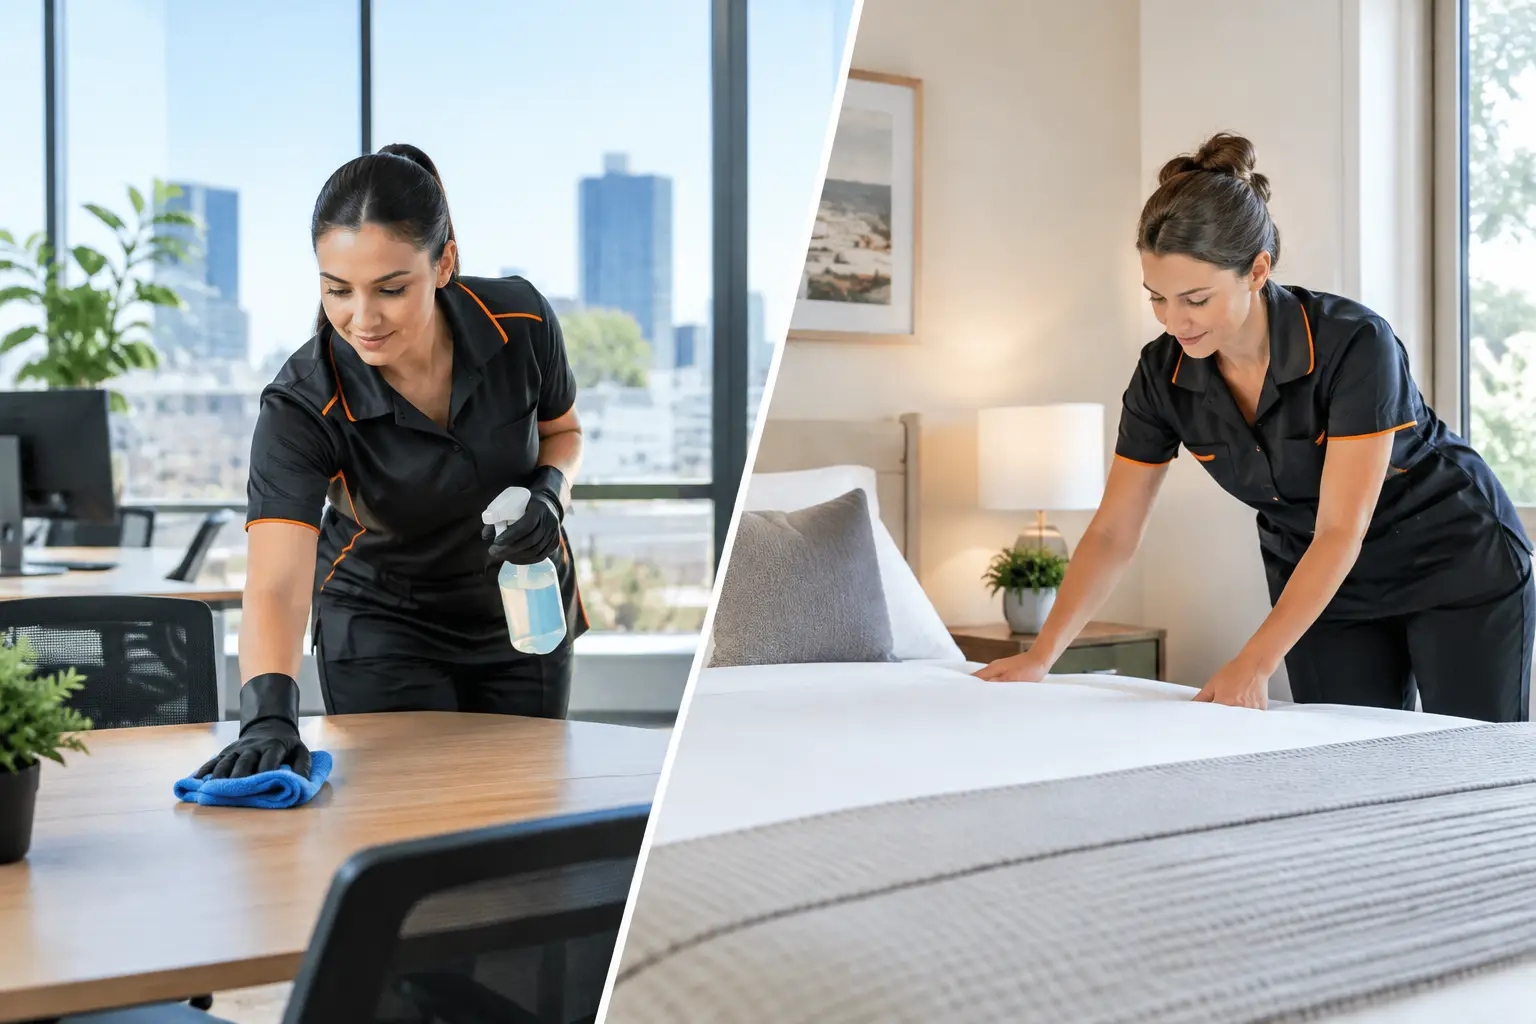
A property inspection can feel like a test of how you live, particularly when work, children, pets and everyday life have left their mark. The most effective way to prepare property for inspection is to treat it as a practical presentation task: clean thoroughly, check for damage, make access easy and address small issues before they become questions.
Whether you are expecting a routine rental inspection or a final condition inspection before moving out, the standard is not perfection. It is a home that is clean, cared for and consistent with the condition report, allowing the property manager to see that it has been maintained responsibly.
Know which inspection you are preparing for
A routine inspection is usually focused on maintenance, cleanliness and any emerging concerns. The property manager may be looking for signs of leaks, mould, damage, pest activity, unapproved alterations or safety issues. A tidy home makes those checks quicker and helps prevent normal household clutter from obscuring a genuine maintenance problem.
A final inspection carries more weight because it is compared with the entry condition report. This is where missed oven grease, soap scum, window tracks, marks on walls and neglected outdoor areas can become costly disputes. Fair wear and tear is not the same as damage, but cleaning and repairs are separate matters. If a wall has a new hole, a blind is broken or a pet has damaged a screen, deal with it early rather than hoping it will go unnoticed.
If you are unsure what was recorded at the start of your tenancy, find your original condition report and photos before you begin. They are your best reference point for what needs attention and what was already worn, marked or ageing when you moved in.
Start with a realistic inspection plan
Avoid leaving everything until the night before. A focused clean is far more effective when you divide the work across several days, especially if the property has outdoor areas, multiple bathrooms or an oven that has not been deep cleaned recently.
Begin by removing rubbish, putting away personal items and clearing benches, floors and window sills. This is not about making your home look empty. It is about giving yourself access to the surfaces that need cleaning and allowing the inspection to take place without unnecessary obstacles.
Next, walk through each room as though you are seeing it for the first time. Look up at ceiling corners, down behind doors and along skirting boards. Open cupboards, check taps and switches, and note anything that is not working as it should. Take photos of any pre-existing damage or maintenance concerns, then report maintenance issues through the proper channel in writing. Cleaning around a leak or covering a problem does not solve it.
Clean the areas inspectors notice first
A fresh, orderly property creates a strong first impression, but detail matters most in high-use areas. Focus your time where grime builds up and where property managers need a clear view of the home’s condition.
Kitchen: prioritise grease, crumbs and cupboard interiors
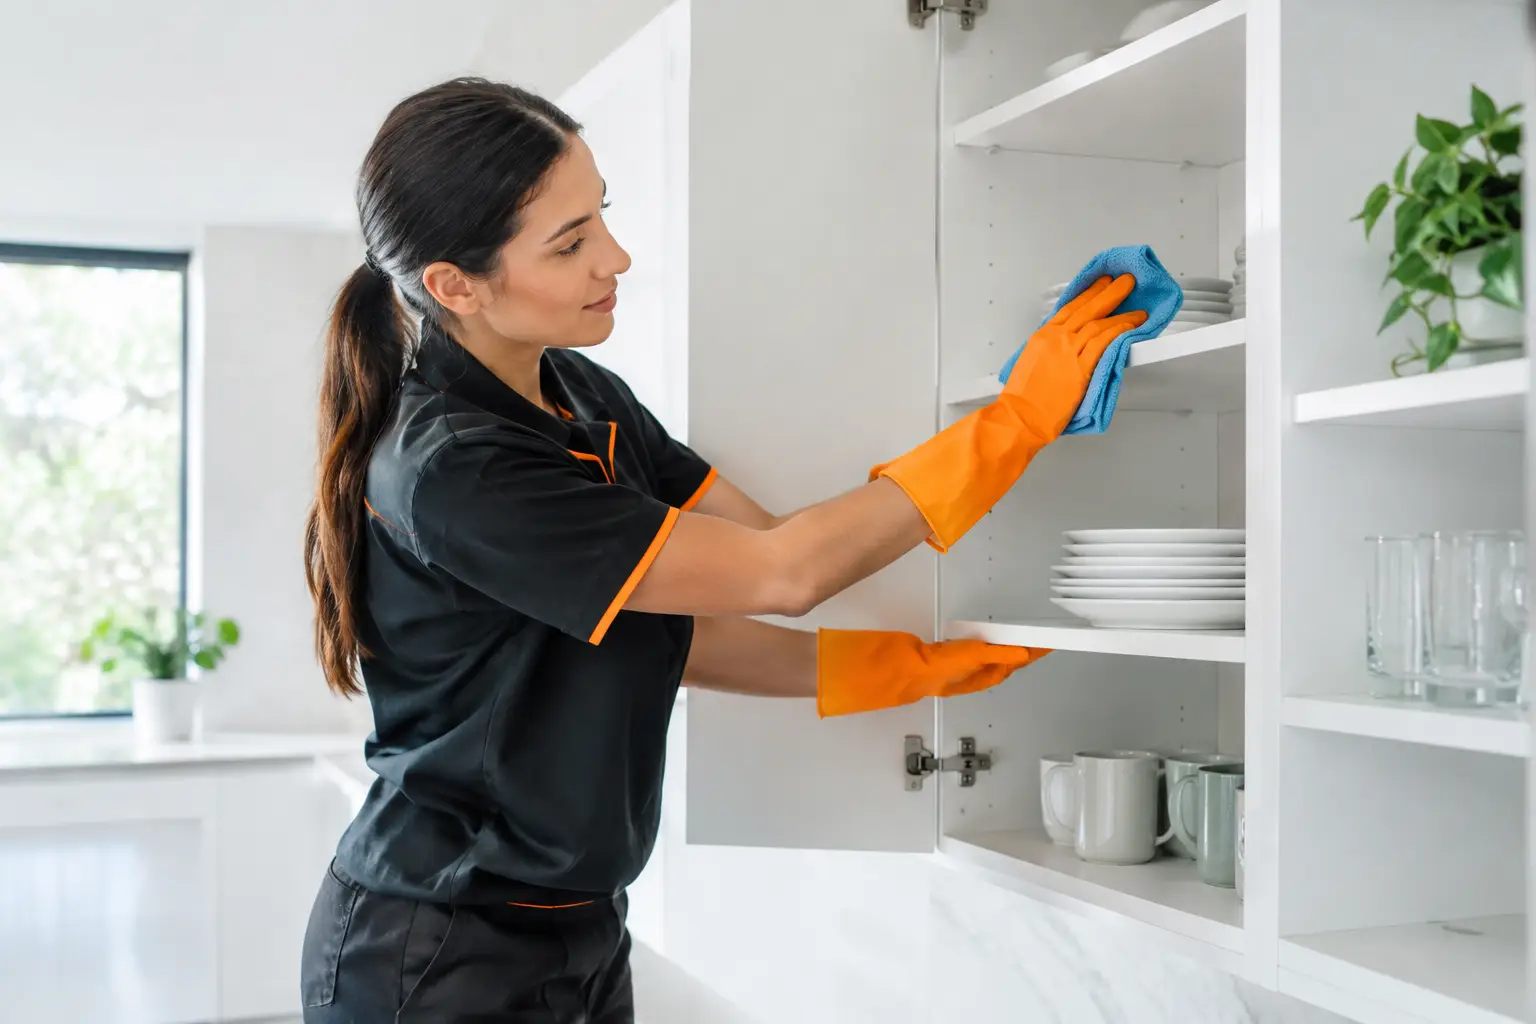
The kitchen often needs the most effort. Degrease the cooktop, rangehood and splashback, then clean the oven if it is due for attention. Pull out removable trays and racks, wipe inside the microwave, and clean the dishwasher filter where accessible. Crumbs and residue inside drawers and cupboards are easy to miss, yet they quickly make an otherwise clean kitchen feel neglected.
Wipe down benchtops, taps, handles and appliance fronts. Clean the sink and drain area, paying attention to water marks and food residue. Do not forget the top of the fridge, the sides of freestanding appliances and the floor beneath small appliances. If the inspection is routine, the inside of every cupboard may not need a detailed scrub, but clean and organised storage shows care.
Bathrooms: remove soap scum and check ventilation
Bathrooms should look hygienic, smell fresh and have no obvious mould or soap build-up. Clean the toilet thoroughly, including the base, seat hinges and surrounding floor. Descale taps and shower fittings where needed, polish mirrors and clean the vanity inside and out.
The shower screen deserves extra attention. Use an appropriate product for the glass, rinse well and dry it to reduce streaks. Clear hair from drains and wipe the exhaust fan cover if dust has collected. Persistent mould may be related to poor ventilation or a building issue, so document it and notify the property manager rather than simply painting or sealing over it.
Living areas and bedrooms: work from top to bottom
Dust ceiling fans, vents, light fittings and the tops of doors before vacuuming. Wipe skirting boards, switches and door handles, particularly in high-touch areas. Remove cobwebs from corners and clean mirrors or internal glass panels.
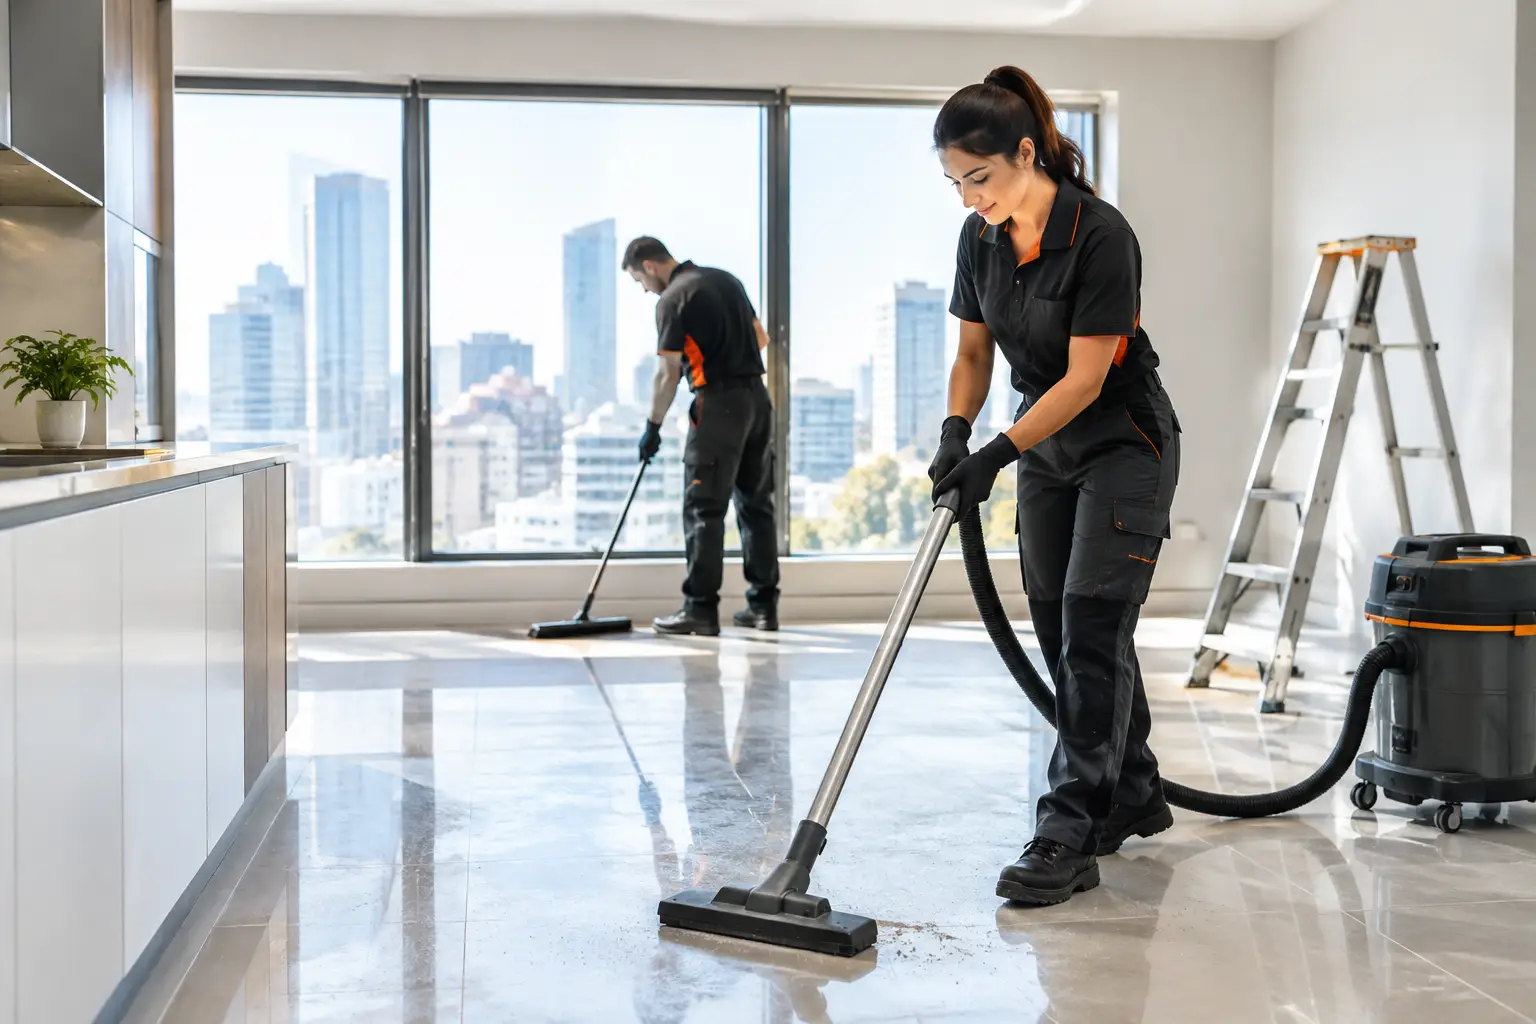
Vacuum carpets slowly, including edges and under furniture where practical. For hard floors, vacuum first and then mop with a suitable product, using only enough moisture for the surface. Soaking timber or laminate flooring can cause damage. Spot-clean obvious marks, but be cautious with aggressive chemicals on walls, painted surfaces and carpets. A small test patch can prevent a minor stain becoming a larger problem.
Do not overlook windows, doors and outdoor spaces
Windows are one of the clearest signs of whether a property has received regular attention. Clean accessible glass on both sides where safe to do so, wipe window sills and remove dirt from tracks. Do not take risks with high or difficult external windows. A professional window clean is often the safer option when access is limited.
Check doors, flyscreens and security screens for dust, fingerprints and damage. Make sure windows and doors open and close as expected. If a lock, latch or screen is faulty, report it rather than forcing it or attempting a repair that could make matters worse.
For houses and ground-floor rentals, outdoor presentation also matters. Sweep paths, balconies and entry areas, remove leaves from drains where safe, pull obvious weeds and mow or edge lawns if garden care is part of your agreement. Bring bins in after collection day and remove pet waste. A clean entrance signals that the property is being looked after before anyone steps inside.
Prepare for access, pets and the inspection day
The property should be accessible at the arranged time, with all rooms available to inspect. If you cannot attend, make sure the agent has the approved access arrangement. Keep pets secure or take them out if possible, both for their comfort and for the safety of the person attending.
Open curtains and blinds to let in natural light, but make sure windows are closed if weather or security is a concern. Air the property beforehand, especially after cooking, and avoid strong sprays that can mask an underlying odour. A neutral, clean smell is preferable to an overpowering fragrance.
On the day, do one final walk-through with a cloth, vacuum and rubbish bag. Check that dishes are washed, laundry is contained, bins are emptied and bathroom surfaces are dry. These small finishing touches make a noticeable difference without turning the morning into a stressful rush.
When professional cleaning is worth considering
Some inspections only require a good household clean. Others call for more support, particularly where time is limited or there are demanding areas such as ovens, shower glass, carpets, windows or post-move mess. For a final inspection, professional cleaning can provide a clearer standard and save hours of labour, though it does not replace repairs or remove tenant responsibility for damage.
Spiffi Cleaning supports Adelaide tenants with detail-focused rental and end-of-lease cleaning when the job needs more than a quick tidy. If you book any cleaner, be clear about the inspection date, the property size and the areas causing concern so the scope matches what you actually need.
Keep your condition report, maintenance emails and before-and-after photos together until the inspection process is complete. A clean property is easier to assess, easier to hand back and far less likely to leave you scrambling over avoidable details at the last minute.