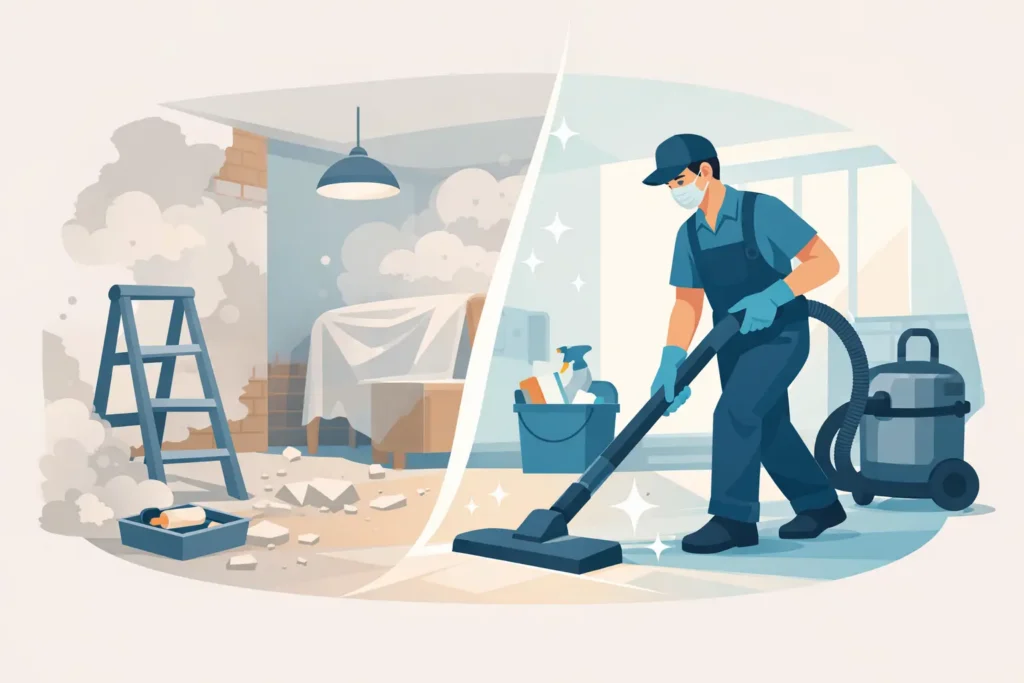
You notice it when the tradies are gone and the room finally looks finished – a fine, pale film sitting on the skirting boards, inside cupboards, across light fittings and somehow even in rooms that were shut the whole time. After renovation dust removal is rarely a quick clean-up job. The dust is lighter, finer and more stubborn than everyday household dirt, and if it is not handled properly, it keeps settling long after the work is done.
That matters whether you have renovated a kitchen at home, updated an office fit-out or finished repair work in a commercial space. The goal is not just to make the place look tidy. It is to remove the dust thoroughly enough that the space feels clean, safe and ready to use.
Why after renovation dust removal is different
Renovation dust behaves differently from the dust you clean during a regular weekly tidy-up. It often contains very fine particles from plaster, timber, grout, cement, paint residue and packaging debris. These particles travel further than most people expect and settle in places you would not normally think to check, including vents, power points, door tracks, blinds and the tops of internal doors.
A standard vacuum and a damp cloth can help, but they are not always enough. If the vacuum does not have proper filtration, it can blow fine dust back into the air. If surfaces are wiped too early or with the wrong method, the dust can smear into a paste and create more work. That is why post-renovation cleaning needs a more methodical approach.
There is also a timing issue. Some projects create dust that continues to shift for days as air circulates through the property. Even after the obvious mess is cleared, the finer material can keep appearing on benchtops and floors. For households, that means frustration. For offices, clinics and managed properties, it can delay handover or affect how professional the space feels on day one.
What renovation dust tends to hide in
The obvious areas get attention first – floors, benches, window sills and bathroom surfaces. The problem is that dust settles beyond eye level and below it. Ceiling fans, air-conditioning vents, top shelves, inside wardrobes, behind appliances and along skirting boards all catch a surprising amount.
Soft furnishings can also hold more dust than they show. Upholstery, mattresses, curtains and rugs trap fine particles that become airborne again whenever someone sits down, walks past or opens a window. In a workplace, fabric chairs, reception seating and partition surfaces can all hold dust after nearby building works.
Glass and gloss surfaces are another giveaway. They show the residue quickly, but they are rarely the only affected materials. If you can see dust on mirrors or splashbacks, there is usually more sitting quietly in less visible areas.
The right order makes a big difference
One of the most common mistakes in after renovation dust removal is cleaning in the wrong sequence. If floors are cleaned first and vents or shelving are cleaned later, the dust simply falls back down and the job starts again.
A better approach is to work from high to low and from dry to controlled damp cleaning. That usually means starting with ceilings, cornices, vents, light fittings and high ledges before moving to walls, joinery, shelving, window frames and finally floors. Dust should be captured, not just moved around.
This is where equipment matters. Microfibre cloths, HEPA-filter vacuums and suitable floor-cleaning tools make the process faster and more effective. The exact method depends on the materials in the space. Fresh paint, natural stone, timber flooring and delicate finishes all need a bit more care than standard hard surfaces.
How to approach dust removal at home
For residential jobs, the first question is usually whether the renovation was isolated to one room or spread through the house. A contained bathroom renovation is very different from a kitchen upgrade with regular foot traffic through the living area. The more movement there was during the works, the further the dust is likely to have travelled.
Start by removing larger debris and checking that all building waste has been cleared. Then vacuum high surfaces, edges and corners before wiping them. Cupboards, drawers and wardrobes should be opened and cleaned inside, even if they were shut during the project. Dust finds a way in.
Kitchens and bathrooms need extra attention because dust settles on functional surfaces. Benchtops, splashbacks, tapware, tiles, exhaust covers and inside cabinetry all need proper cleaning before the space is ready for daily use. If appliances were left in place, the sides, tops and surrounding gaps often need more work than expected.
If anyone in the home has asthma, allergies or sensitivities, it is worth being more thorough than you think necessary. Fine renovation dust is exactly the sort of thing that lingers in the air and causes irritation well after the visible mess is gone.
After renovation dust removal for commercial spaces
Commercial sites have a different pressure point. It is not only about cleanliness. It is about presentation, operational readiness and confidence for staff, clients and visitors.
An office that still has dust in boardrooms, on workstations or around vents does not feel finished. A retail space with residue on shelving and glass does not look ready to trade. In medical or allied health settings, dust control matters even more because hygiene standards and patient expectations are higher.
That is why many businesses prefer a structured clean once trades have finished. It allows the space to be reset properly before reopening or handover. Timing can be critical here. A same-day or next-day clean can keep a project on track, but only if the cleaning team knows how to work around fresh finishes and final site conditions.
When a DIY clean is enough and when it is not
It depends on the size of the job, the surfaces involved and how quickly the space needs to be usable. A small cosmetic refresh, such as repainting one room or replacing a vanity, may be manageable if you have the right equipment and enough time. The key is not to underestimate the detail work.
Larger projects are where DIY often starts to fall short. Multi-room renovations, flooring replacements, ceiling work and commercial fit-outs tend to create dust in volumes that are difficult to remove with standard household tools. If the property needs to be inspection-ready, tenant-ready or customer-ready, the margin for missed areas is smaller.
Professional cleaning also becomes more practical when there are specific requirements around access, timing or accountability. Property managers, office managers and facility teams usually need a clear scope, reliable arrival times and confidence that the site will be presented properly. That is hard to guarantee with an improvised clean after a busy build schedule.
What a professional clean should include
A proper post-renovation clean should go beyond a surface wipe and vacuum. It should address dust across high and low areas, internal fittings, floors, glass, window tracks, skirting boards, doors, switches and accessible vents. Depending on the property, it may also include inside cupboards, wardrobes, joinery, bathrooms, kitchens and spot cleaning of walls or marks left during the works.
Good cleaners also assess the type of dust and the condition of the space before starting. That matters because not every finish should be treated the same way. Delicate surfaces need the right products, and newly completed work needs care to avoid scratches, dulling or residue.
For Adelaide homes and businesses dealing with renovation handovers, choosing a team that is trained, properly equipped and used to detail-focused cleaning can save a lot of back-and-forth. Spiffi Cleaning approaches after-renovation work with that mindset – remove the dust properly, protect the finishes and leave the space ready to use.
A clean finish should actually feel finished
There is a point after any renovation where the building work is done but the space still does not feel complete. Usually, that last barrier is dust. Once it is removed thoroughly, the new cabinetry stands out, the floors look the way they should and the room finally feels ready for everyday life or business as usual.
That is why after renovation dust removal is worth doing properly the first time. Not rushed, not half-finished and not treated like a standard clean. A well-cleaned space lets the renovation speak for itself – and that is the result people notice straight away.